

Latest News
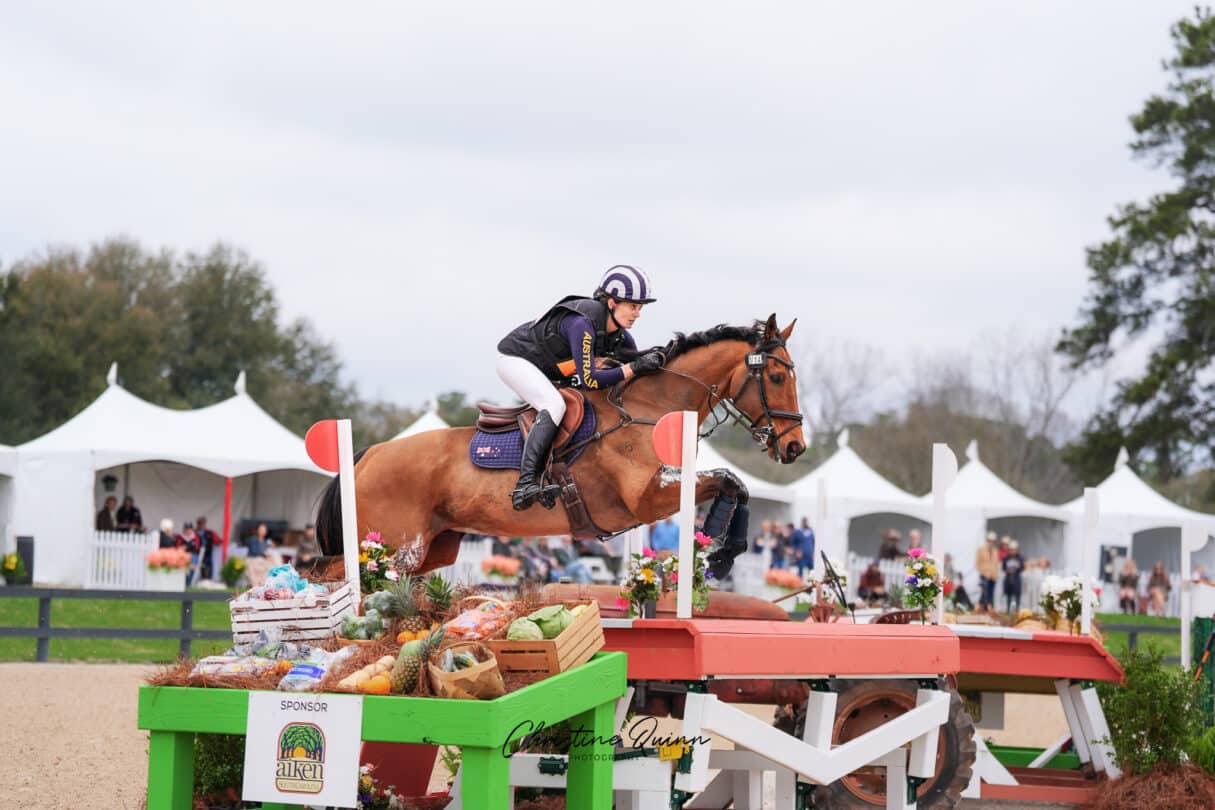
The acceptance list is out for P.S.I Dressage and Jumping with the Stars and competition is looking exceptionally strong.
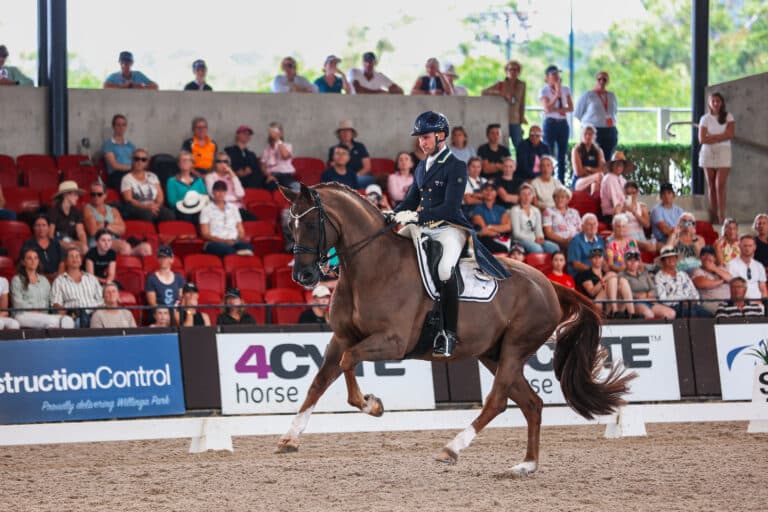
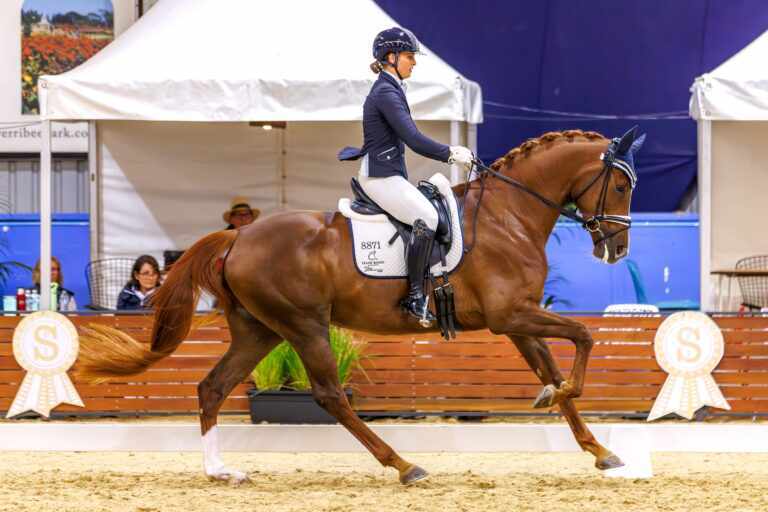
Australian dressage stars Jayden Brown and Quincy B are within the top 50 of the FEI rankings again this month – and they are on the rise.
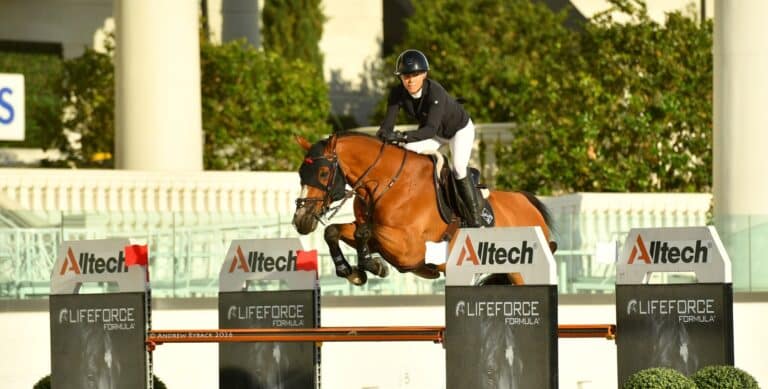
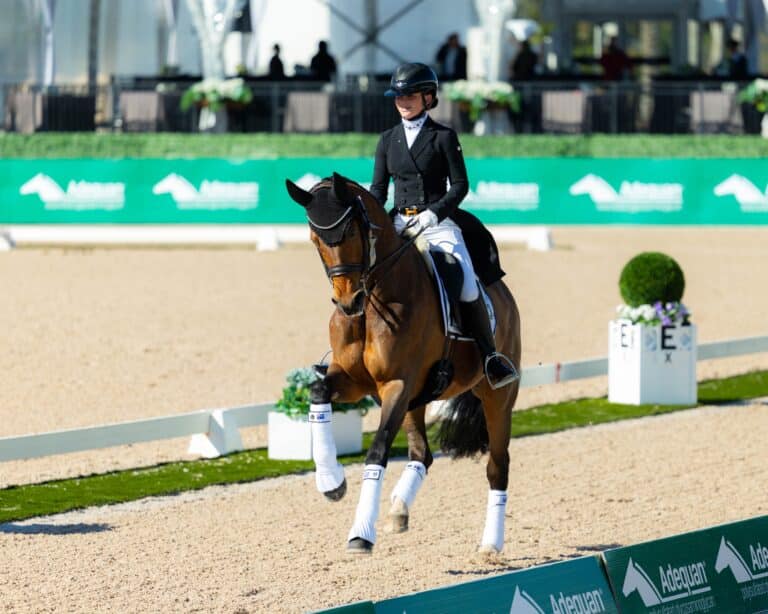
The in-form Australian combination of Lauren Balcomb and Verdini D’houtveld Z have continued their success on the international stage, claiming the CSI3* Grand Prix Qualifier on Thursday at WEC Ocala Winter Spectacular X.
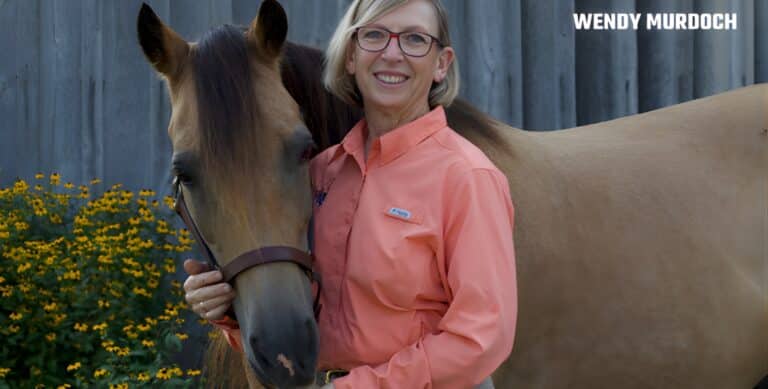
In episode nine of ‘The Equestrian’s Inner Life’ podcast, host Pernille Hogg catches up with Wendy Murdoch, whose work bridges the worlds of science, somatics, and horsemanship.

New Zealand Olympian Kallista Field will be the guest rider for the Young Horse Finals at this year’s Sydney CDI.
At just 15 years of age, young Australian dressage talent Abby Weel has taken a significant step onto the international stage, making the long journey to Florida in late 2025 to further her development. Based in Wellington, Florida, Abby is training with renowned dressage trainer Lars Petersen at Helgstrand, USA.


The acceptance list is out for P.S.I Dressage and Jumping with the Stars and competition is looking exceptionally strong.
Australian dressage stars Jayden Brown and Quincy B are within the top 50 of the FEI rankings again this month – and they are on the rise.
The in-form Australian combination of Lauren Balcomb and Verdini D’houtveld Z have continued their success on the international stage, claiming the CSI3* Grand Prix Qualifier on Thursday at WEC Ocala Winter Spectacular X.
In episode nine of ‘The Equestrian’s Inner Life’ podcast, host Pernille Hogg catches up with Wendy Murdoch, whose work bridges the worlds of science, somatics, and horsemanship.
New Zealand Olympian Kallista Field will be the guest rider for the Young Horse Finals at this year’s Sydney CDI.
At just 15 years of age, young Australian dressage talent Abby Weel has taken a significant step onto the international stage, making the long journey to Florida in late 2025 to further her development. Based in Wellington, Florida, Abby is training with renowned dressage trainer Lars Petersen at Helgstrand, USA.
Equestrian Life Magazine

ISSUE 119
JAN/FEB 2026
THEAULT SWITCHES GEAR WITH NEXT-GEN MODEL
ISSUE 119
JAN/FEB 2026
IMPROVING YOUR PERFORMANCE HORSE'S DIGESTIVE HEALTH
ISSUE 119
JAN/FEB 2026
AGAINST THE ODDS: TANISHA RYAN AND RIXON'S LONG JOURNEY BACK TO TRUST
ISSUE 119
JAN/FEB 2026
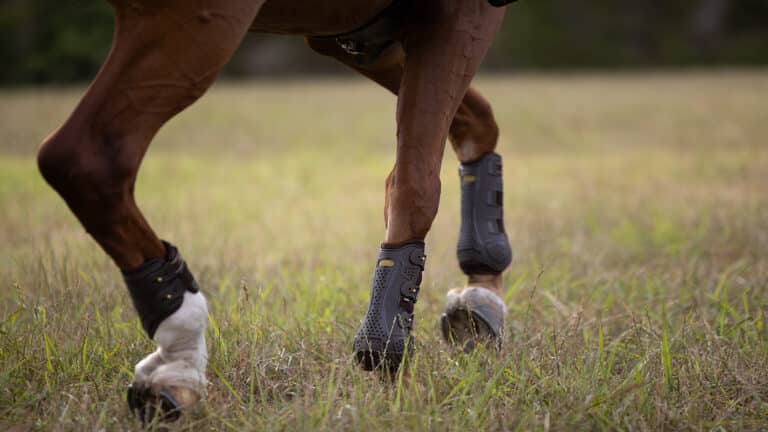
THE HIDDEN RISKS IN PROTECTIVE BOOTS
ISSUE 119
JAN/FEB 2026
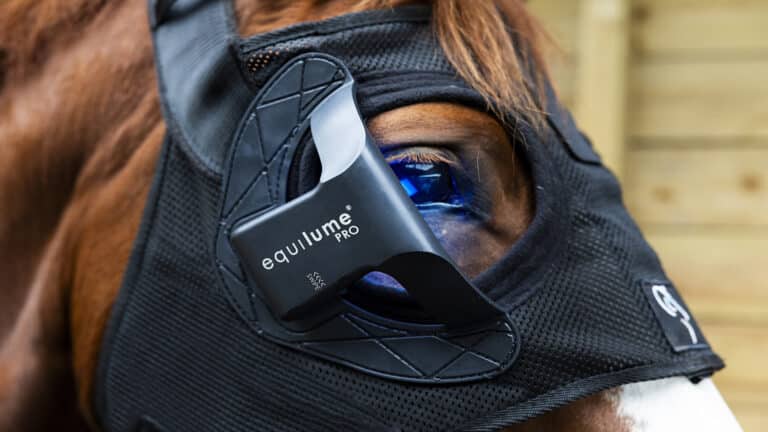
HOW BLUE LIGHT TECHNOLOGY IS HELPING HORSES WITH PPID AND HEADSHAKING

ISSUE 119
JAN/FEB 2026
HANNAH DEEGAN: FROM TASMANIA TO THE TOP
ISSUE 119
JAN/FEB 2026
EMMA FLAVELLE-WATTS & THE GENTLE GIANT
ISSUE 119
JAN/FEB 2026
FAREWELL FORLAN, A MUCH-LOVED FAMILY MEMBER

ISSUE 119
JAN/FEB 2026
QUEENSLAND LEADS ELEGANT REVIVAL OF SIDE SADDLE RIDING
ISSUE 119
JAN/FEB 2026
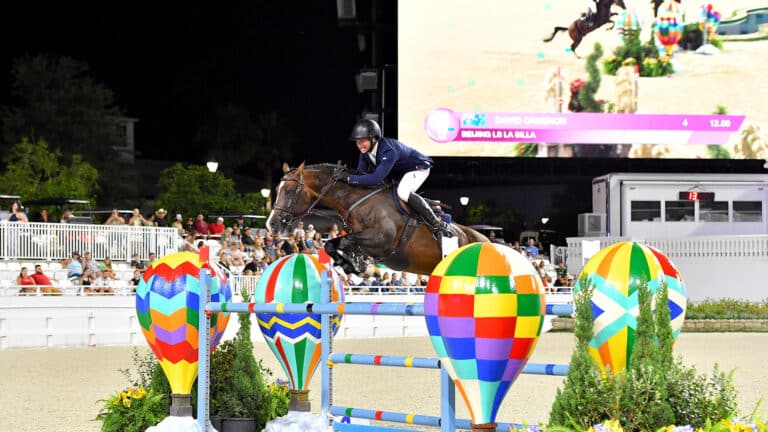
FORBES TO FLORIDA THE RIGHT MOVE FOR DAVID CAMERON
ISSUE 119
JAN/FEB 2026
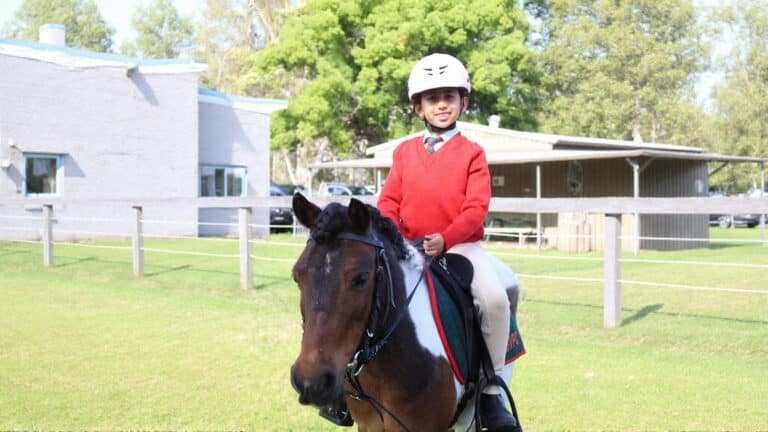
A PONY CALLED OREO: ELYSE’S RIDING JOURNEY BEGINS
ISSUE 119
JAN/FEB 2026
HARRY KEWL PROVES AGE IS JUST A NUMBER
ISSUE 119
JAN/FEB 2026
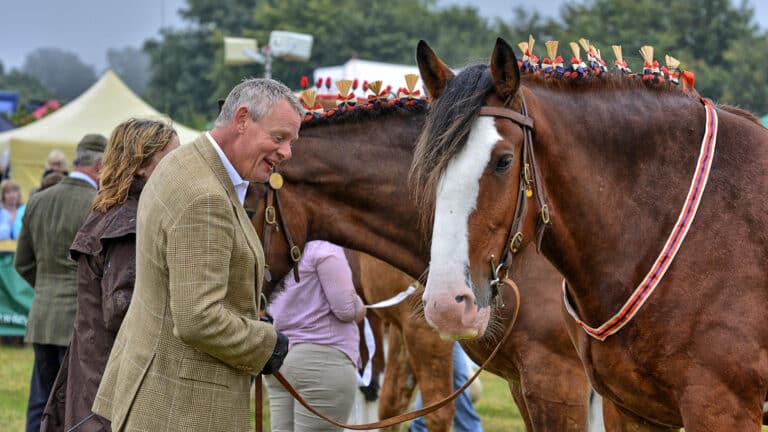
MARTIN CLUNES RIGHT AT HOME IN ‘HEAVY HORSEPOWER’
More about Jumping
The in-form Australian combination of Lauren Balcomb and Verdini D’houtveld Z have continued their success on the international stage, claiming the CSI3* Grand Prix Qualifier on Thursday at WEC Ocala Winter Spectacular X.
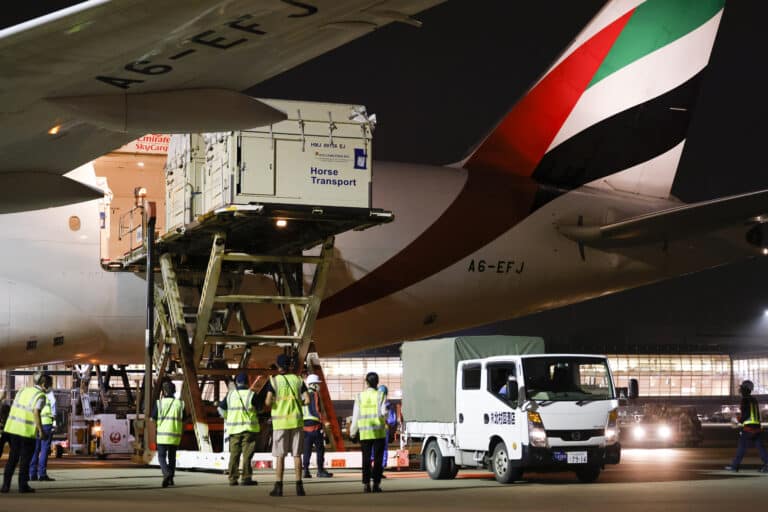
The Fédération Equestre Internationale (FEI) has issued an advisory to athletes, officials and stakeholders ahead of upcoming FEI Events in the Middle East, citing the current regional security situation and recent developments affecting travel and operations.
The Longines Global Champions Tour and Doha Equestrian Tour have confirmed the cancellation of their 4–7 March 2026 fixture in Doha, citing regional airspace restrictions and operational constraints caused by the current situation in the region.
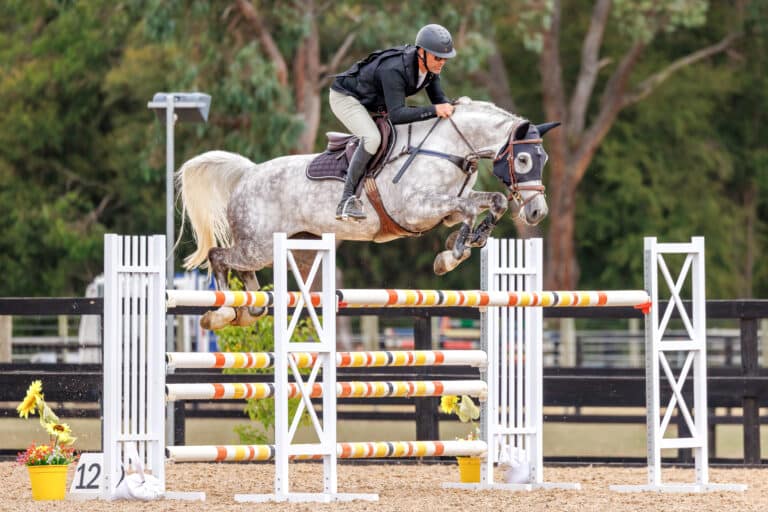
Victoria’s leading regional show jumpers gathered at Shirley Heights Equestrian Centre from the 27 February to 1 March for the Victorian Country State Jumping Titles.
The in-form Australian combination of Lauren Balcomb and Verdini D’houtveld Z have continued their success on the international stage, claiming the CSI3* Grand Prix Qualifier on Thursday at WEC Ocala Winter Spectacular X.
The Fédération Equestre Internationale (FEI) has issued an advisory to athletes, officials and stakeholders ahead of upcoming FEI Events in the Middle East, citing the current regional security situation and recent developments affecting travel and operations.
The Longines Global Champions Tour and Doha Equestrian Tour have confirmed the cancellation of their 4–7 March 2026 fixture in Doha, citing regional airspace restrictions and operational constraints caused by the current situation in the region.
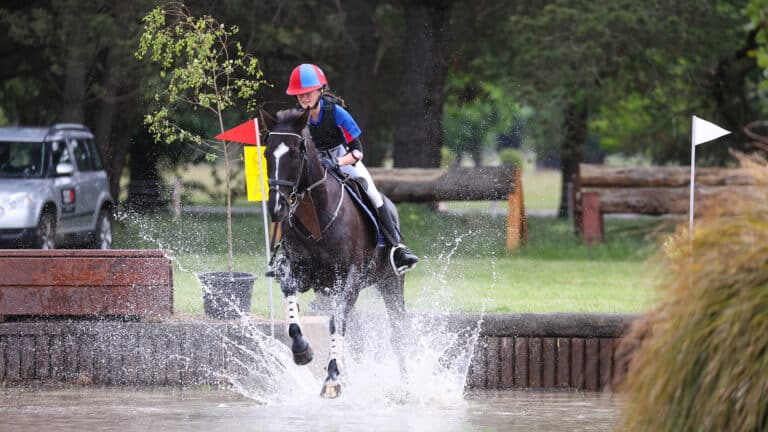
Victoria’s leading regional show jumpers gathered at Shirley Heights Equestrian Centre from the 27 February to 1 March for the Victorian Country State Jumping Titles.