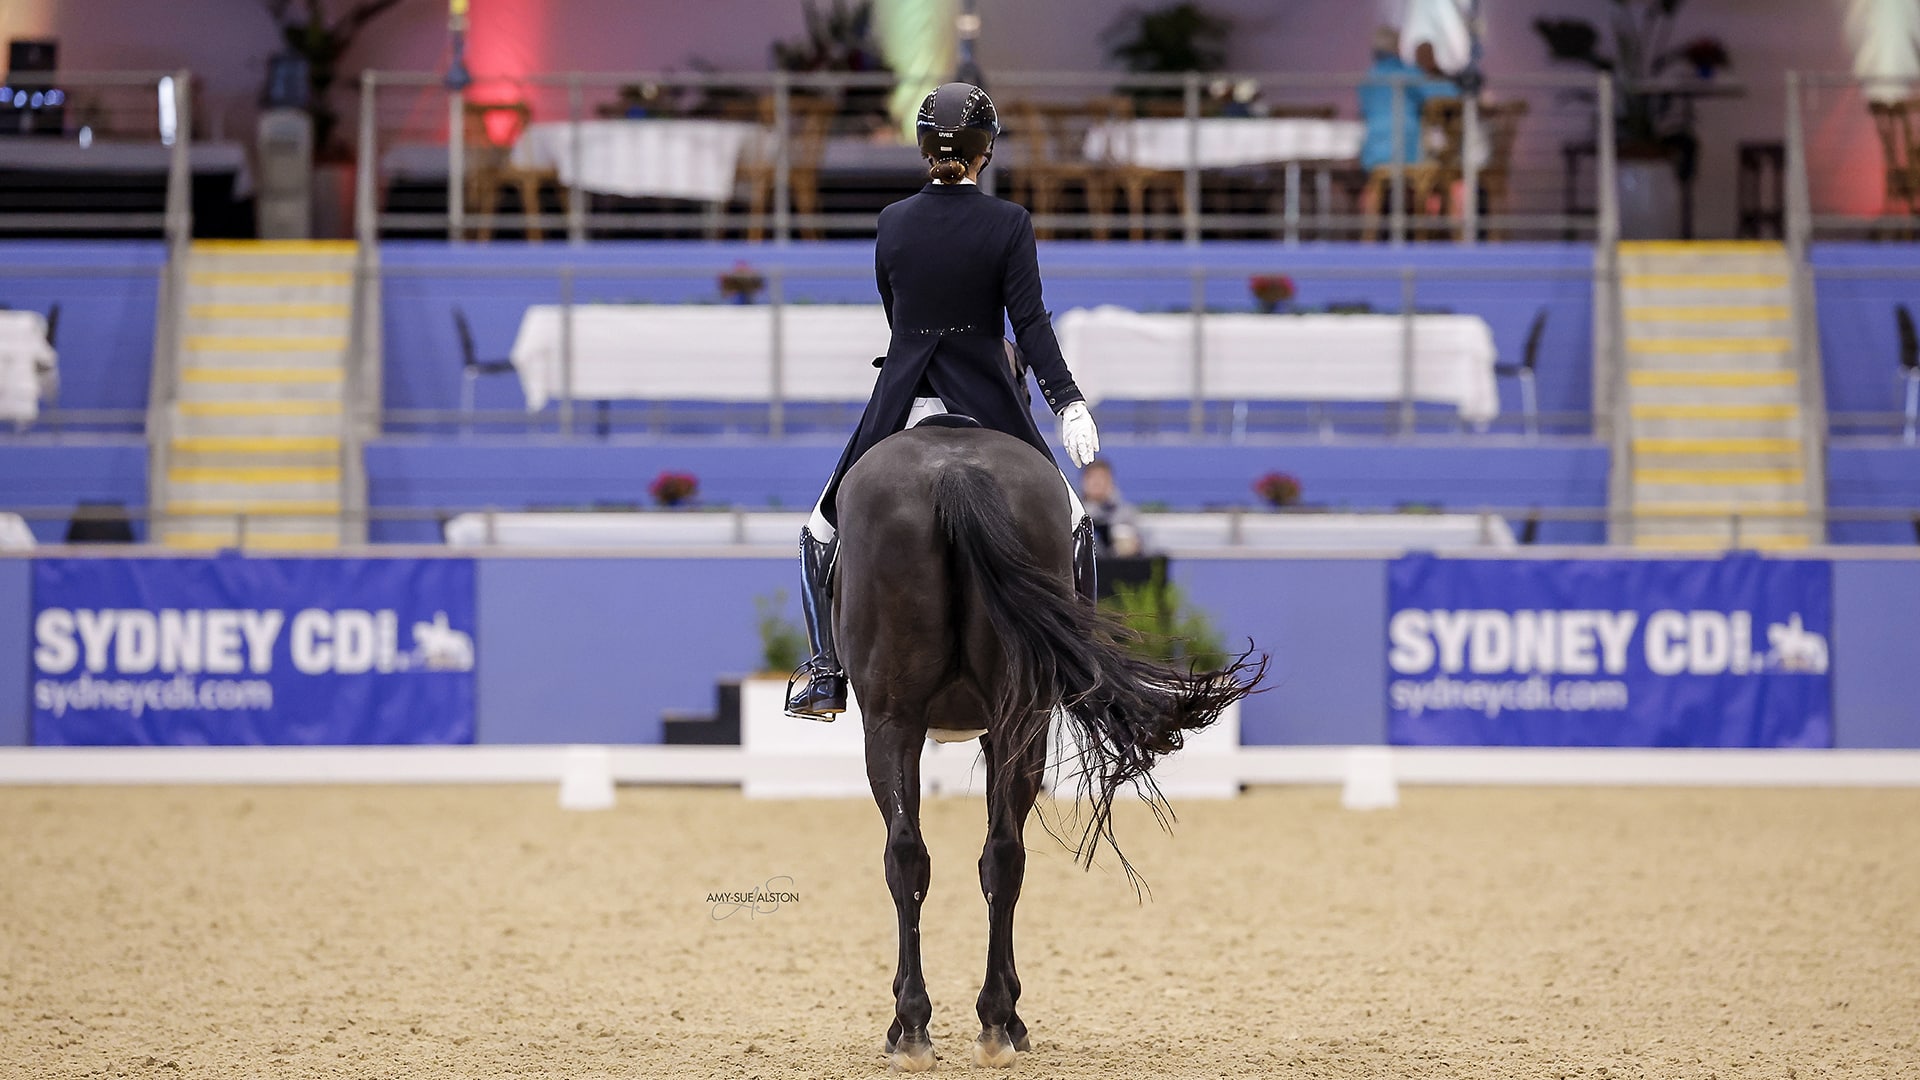
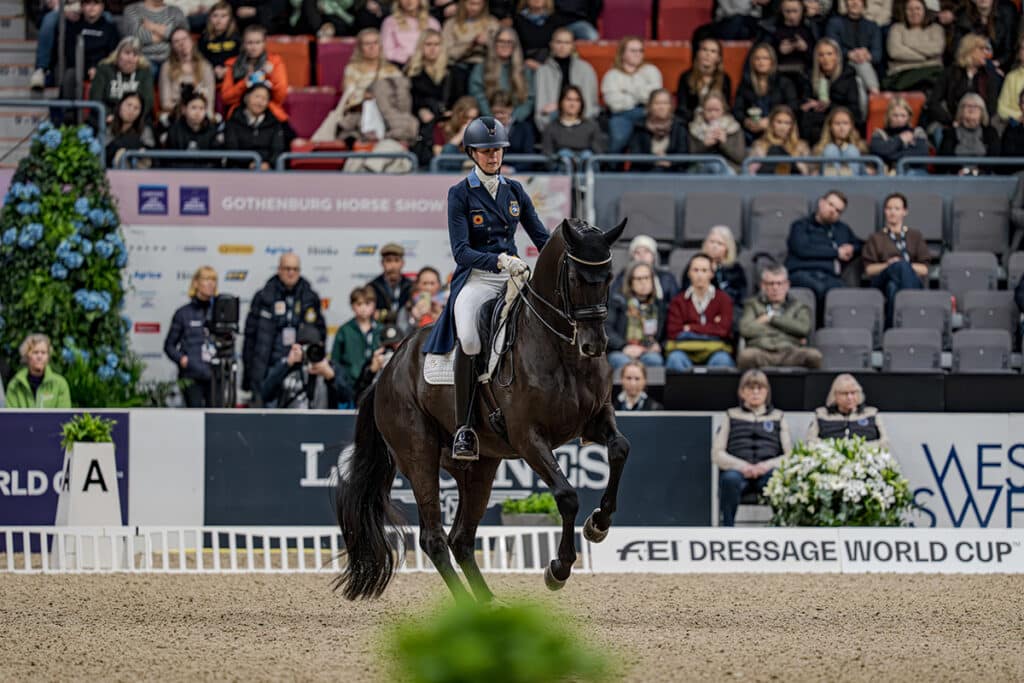
Precision and accuracy are critical in the dressage arena and can greatly impact marks. A straight centreline and halt are a good way to start you test – as demonstrated by Dana Krause and Taittinger VDS! Image by Amy-Sue Alston.


Straight lines, accuracy to markers and true corners set combinations apart. Sit back and watch any dressage test and what often sets one combination a cut above another is the precision with which they negotiate the lines each test prescribes.
Dressage is a truly wonderful sport — like gymnastics or ballet but with horse and rider — creating athletic, expressive movements within the 60-metre x 20-metre arena. From the lower levels right through to international Grand Prix, every movement demands precision. Accurate lines are the icing on the cake: they showcase clarity of transitions, quality and balance, harmony, and that unmistakable feeling of total control and quiet confidence.
The very first movement in every test is enter at A, usually followed by the halt and salute, and then proceed as directed — track left or track right.
Yet how many riders begin with a strange, drifting curve through the gateway, and a wobbly line up the centreline to X? It should be straight. Straight does not mean shoulder-fore or shoulder-in to “make it look straight” — it simply means straight.
At X, the judge at C gets an immediate, clear view of whether the horse is truly aligned. X is an invisible marker on the centreline between B and E, and “halt at X” doesn’t mean somewhere near X. It means at X: the rider’s seat directly over the point of X, with the horse halted square and straight — as if between railway tracks. The transition into halt and the transition out of halt should be straight and direct.

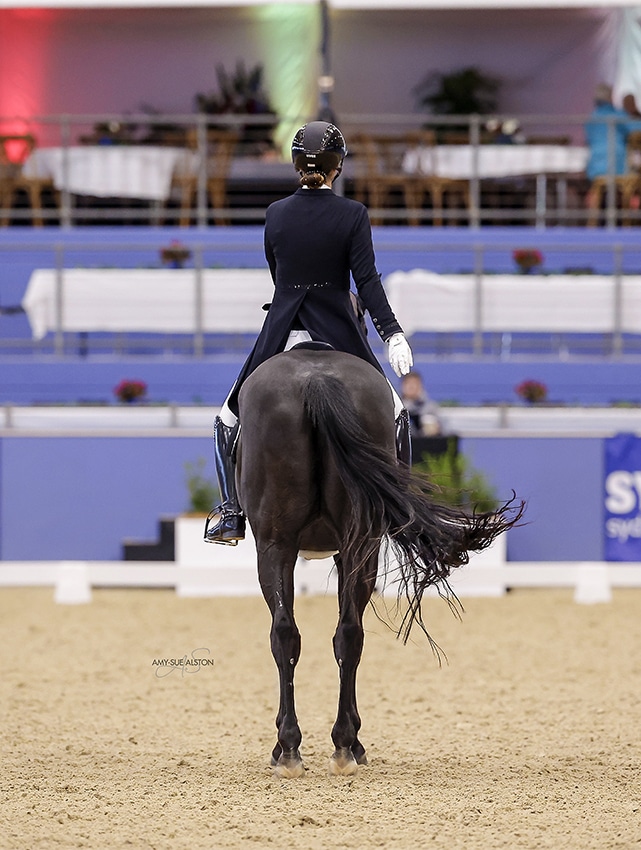
Emma Flavelle-Watts and Scarlatti Mio VSR make the halt at X look easy during their recent CDI3* Grand Prix test at Dressage by the Sea. Image by Roger Fitzhardinge.
Then comes the turn at C. It isn’t a lazy 10-metre curve or a half-circle; it’s a turn like a corner: a straight line, a corner, and another straight line so that you finish heading accurately up the long side.
Common faults during these opening movements include:
- Wobbling or drifting off the centreline on the way to X
- A crooked halt, or halting early/late so the rider’s body isn’t directly over X
- Unclear, sideways or delayed transitions in or out of the halt
- A “turn” at C that never becomes a true corner (straight line, corner, straight line)
If you’re aiming for a 10, every one of these requirements must be met with real precision — yet far too many riders don’t pay enough attention to these basics. The more accurately riders ride to the markers and to the lines dictated by the written test, the more the horse comes confidently to the aids — pliable, supple and balanced — while the rider presents a picture of harmony and assured control.
ACROSS THE DIAGONAL
In dressage, precision is everything. After the entry, halt and salute, the next movement in many tests is a change of direction on a diagonal, for example H-X-F.
The best way to think of this is to imagine there is a piece of tape on the ground running from H straight to F. You ride onto that line as if you were riding a corner at H: a clear turn, a clear line, and then straightness. Through the turn you may have a hint of left positioning, and by the time you reach X you are still exactly on the diagonal but already preparing — almost invisibly — for the next corner by thinking slightly right. You continue directly at F, make a neat turn at F with a touch of right flexion and bend, then a correct corner and a straight on the short side.
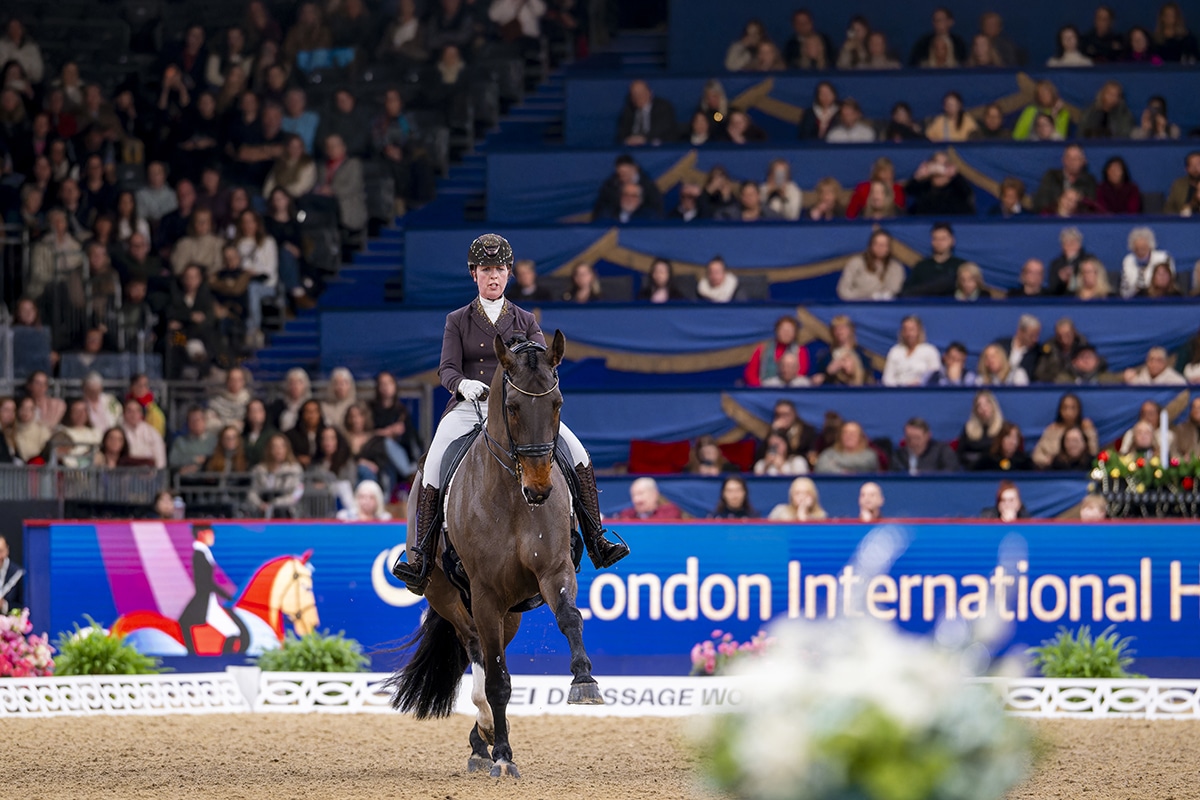
A diagonal line must be straight line! The British combination of Becky Moody and Jagerbomb show how it’s done. Image by FEI/Jon Stroud Media.
A diagonal is not a curve. It is a straight line that must hit the track at the marker, not a horse’s length before it because it feels easier. In dressage you go to the marker, from the marker.

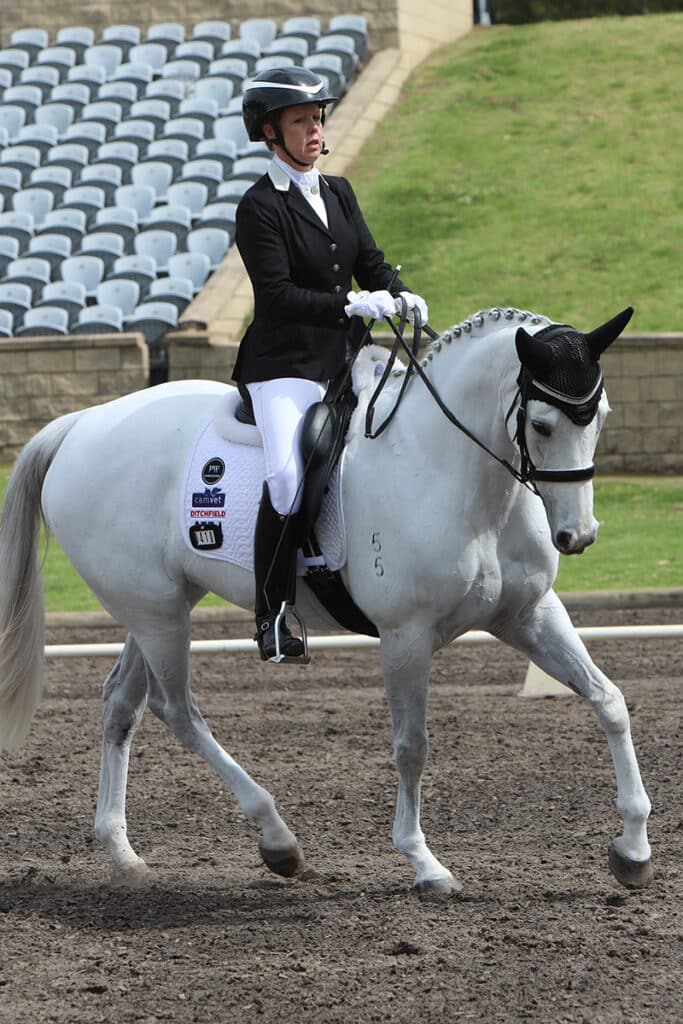
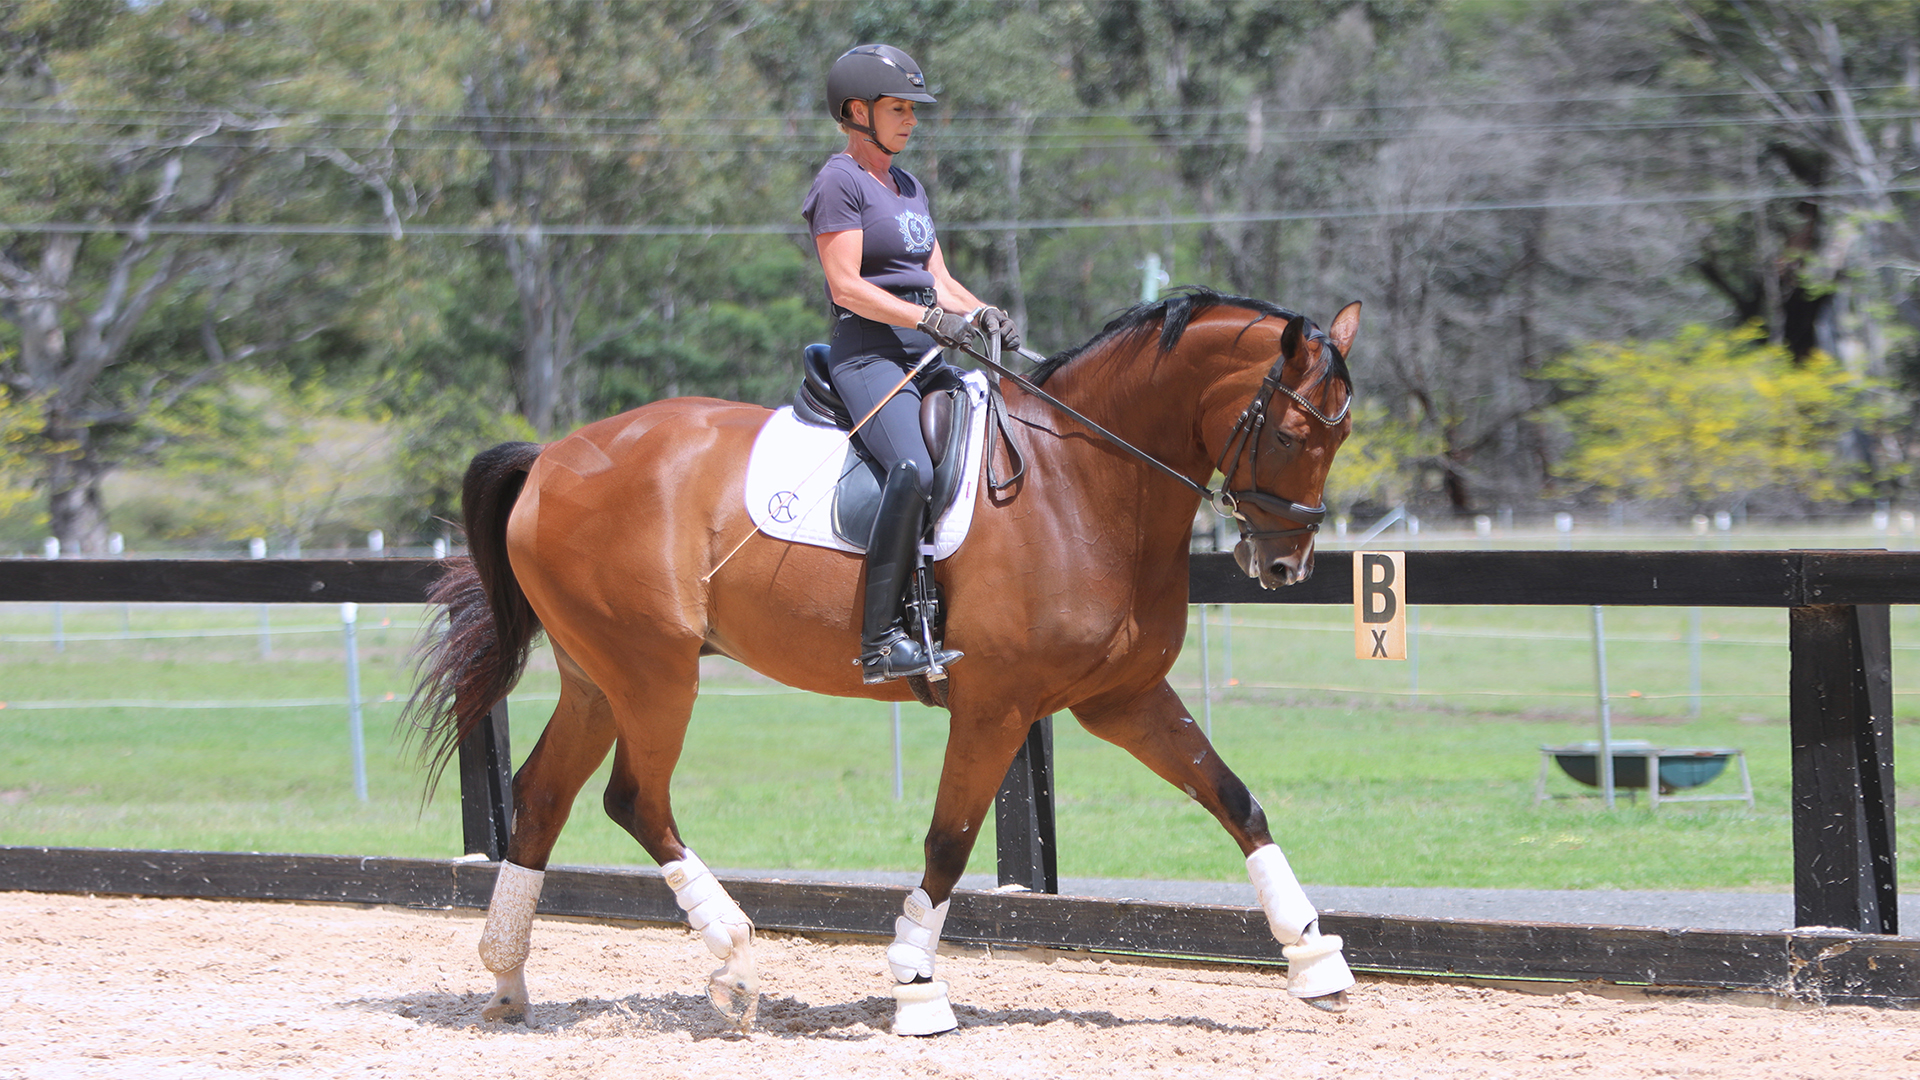
The transition to collected trot and turning at the marker following a diagonal line, demonstrated by Matthew Dowsley and TS Firestorm. Image by Roger Fitzhardinge.
“The circle is the circle,
the line is the line, and the
corner is the corner.”
KNOW YOUR ARENA, KNOW YOUR LINES
It is surprisingly easy — and enormously helpful — to draw a 60-metre x 20-metre arena to scale and put the letters in their exact places on a sheet of paper and work out the distances exactly. Once you understand the measurements, you can work out where every circle should touch, where a serpentine must meet the track, and where every transition is meant to happen.
For reference, in a standard 60-metre arena, the first marker is 6 metres from the corner (for example K and H), and the spacing between the next letters is 12 metres. The centreline is exactly 10 metres from each long side. With those dimensions, the geometry becomes obvious — and so do the common mistakes.
CIRCLES MUST BE THE SIZE WRITTEN ON THE TEST SHEET
Circles are not suggestions. They are measurements. Riders must ride the circle line exactly to the dimensions on the test sheet, whether it is 8 metres, 10 metres, 15 metres or 20 metres. A circle starts when the horse’s nose leaves the track and the rider’s body passes the marker.
A very common misunderstanding is the 10-metre circle at K. Many riders believe it should touch the short side. It shouldn’t. A 10-metre circle has a 5-metre radius, and K is 6 metres from the corner, so the circle will sit 1m in from the short side. If you know that, you ride it correctly. If you don’t, you guess — and judges can see guessing.
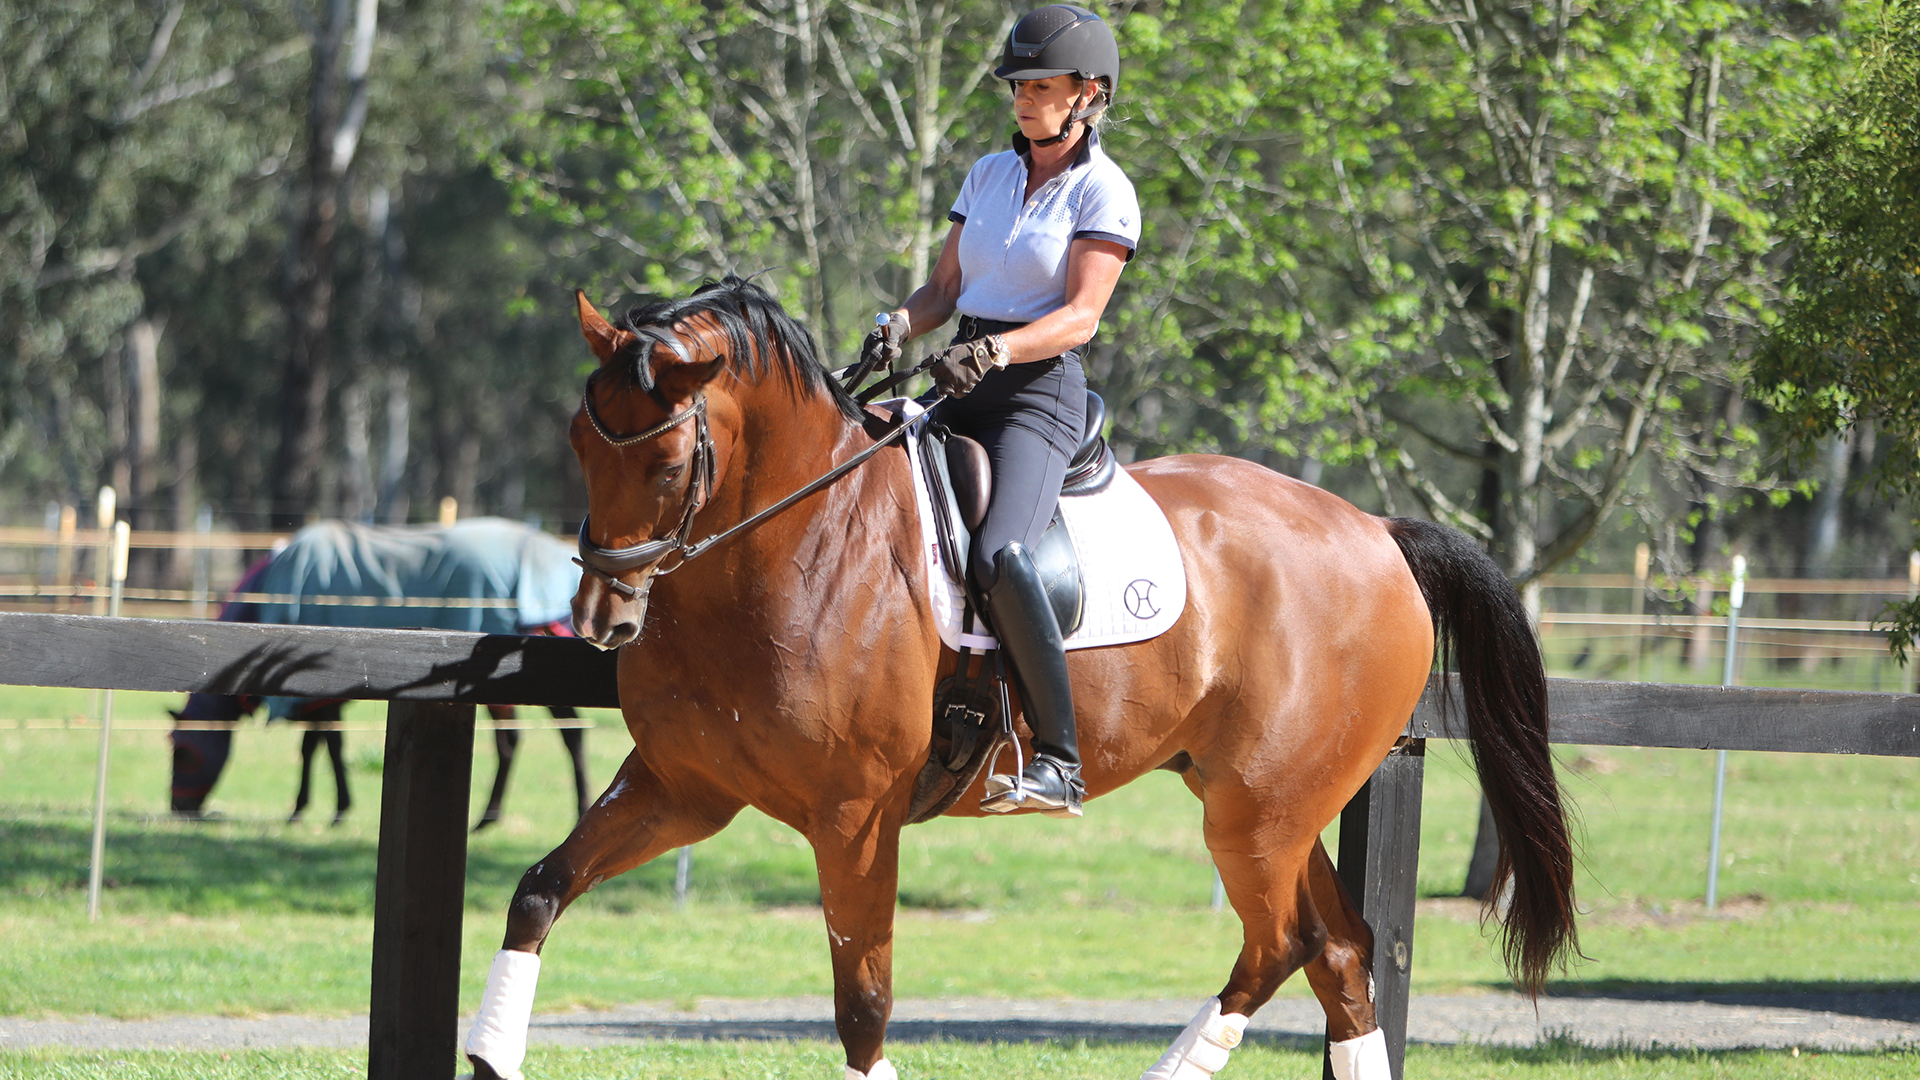
Riding the 10-metre circle. Image by Roger Fitzhardinge.
THE 20 METRE CIRCLE AT A
A 20-metre circle ridden at A on the right rein must be ridden as a true circle, not a circle with “help” from the wall. The circle begins the moment the horse’s nose leaves the track at A, and from the first stride you should have clear reference points in mind.
Your aim is to touch the track exactly 4 metres down from K, then continue the arc without taking a single step down the long side. The next reference is to touch the centreline 2 metres the C side of L, then return to the long side to touch the track 4 metres up from F, and continue back to A on the same uninterrupted line — no hovering on the track, no flattening, no drifting.
And then comes the part many riders give away for free: if the test says “continue to K”, you must finish the circle at A, then ride a straight line to an accurate corner. The circle is the circle, the line is the line, and the corner is the corner. That clarity is what makes the work look simple — and what keeps the easy marks on your side.
SERPENTINES AND ‘EASY’ MARKS
This accuracy becomes painfully obvious in the three-loop serpentine. Unless you have looked at your diagram to scale and worked out exactly where those loops must touch the track, you won’t ride the touch points correctly.
And then the judge’s comments appear — predictably:
- Circle not 20 metres.
- Not round.
- Loop uneven.
- Geometry inaccurate.
These are easy marks thrown away — not because the horse can’t do it, but because the rider didn’t commit to the line.
As an example, let’s consider a serpentine with three loops starting at A on the right rein with each loop to touch the side of the arena is three half circles. The points to note are:
1. Start at A.
2. Touch the track on the long side 4 metres up from K.
3. Be parallel on the centreline to the short sides for one stride 2 metres (towards X) down from L.
4. Touch the track at B.
5. Be parallel to the short sides for one stride 2 metres (towards X) up from L.
6. Touch the track 4 metres up from M.
7. Touch the track at C and straight to a corner.
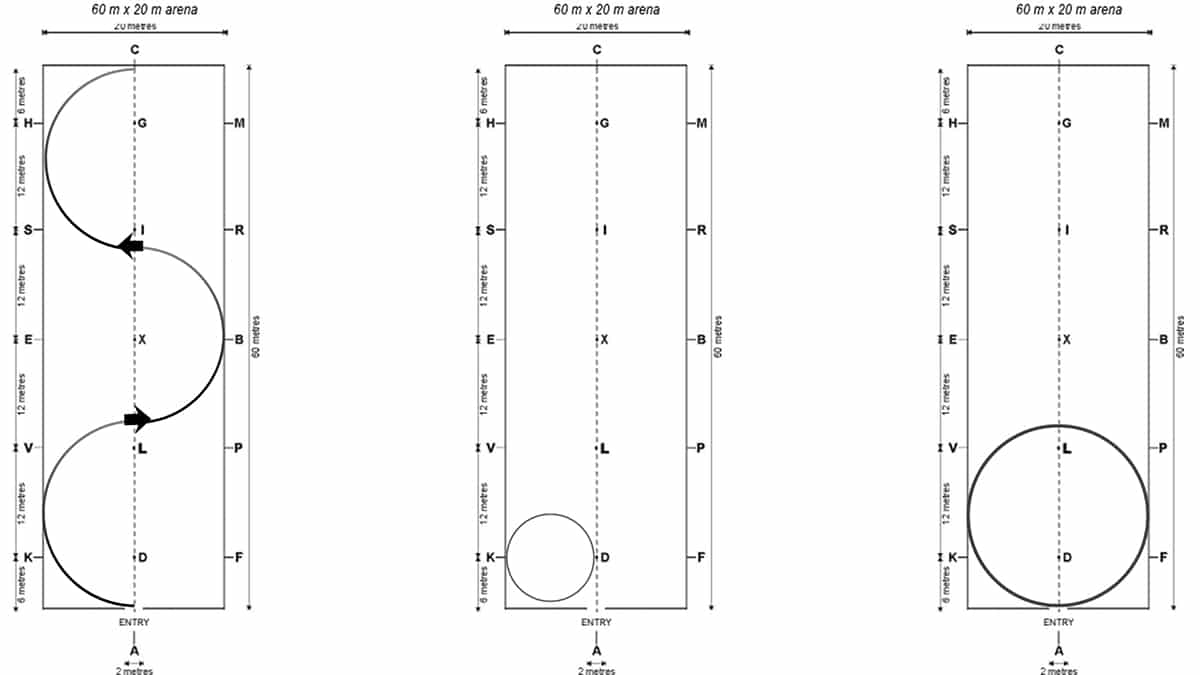
Accuracy is important; L-R: A three-loop serpentine at A; a 10-metre circle at K; and a 20-metre circle at A.
TRANSITIONS HAPPEN AT THE LETTER
Transitions belong on the line where they are required, at the marker. A transition to halt at C is not “somewhere near C”. It is when the rider’s body is directly over C. When transitions are accurate, the test looks organised, the horse looks balanced, and the judge relaxes — because they trust what they’re seeing.
LATERAL WORK: IMAGINE A FENCE
When riding lateral work — such as a leg-yield from L to R — imagine a tape line on the ground between the two letters. Ride as if there is a fence on that line and the horse’s front feet must follow it. Not going over it nor getting behind it.
A useful feel is to keep the horse’s front feet just behind the line, not stepping over it. If the hoof steps over the line, you often arrive at the marker too late, drifting past the destination. If you don’t come across deeply enough, the front feet end up in front of the line, and the line loses accuracy and intent.
Look up, commit to the line, and do not let the horse deviate. The movement becomes clearer, the test becomes simpler, and those “easy marks” stay on your side.
CANTER LINES
For a high mark, the canter pirouette should have a clear centre, with the inside hind leg as the pivot, and the forehand describing a controlled circle around that stabilised-but-moving-inside hind leg. The forehand should be 50% of the time on the left side of the line of travel and 50% on the right, so the turn stays symmetrical and truly centred. It should look from above like the front feet draw a circle line equidistant on either side of the centreline
When a pirouette is consistently on one side of the line, it often shows the horse is not sufficiently collected, the turn is not properly centred, or the forehand is “escaping” rather than turning around the hind leg. Properly ridden pirouettes are both interesting to watch and very revealing to analyse — especially when you’re talking about accuracy and lines at FEI level.
Properly ridden pirouettes are both interesting to watch and very revealing to analyse. Pictured here is Maria von Essen and Invoice of Sweden. Image by FEI/Kim C Lundin.
If a test movement reads “working canter pirouette of 2-metre diameter”, this means that the hind hooves should describe the 2 metres. It must be 2 metres, as this is what is asked and shows control of the size of the pirouette and the rider’s control. A smaller pirouette should not gain you more marks!
Riding a diagonal in extended canter F-X-H with a flying change at H means that the horse remains straight on the line directly to H, with three strides of collection whilst on the line and the flying change executed as the last stride of the diagonal line… not out of counter canter.
FOCUS AND DISCIPLINE
Riding accurate corners — and that is four of them every one lap of the test — as well as accurate circles and lines and angles to markers, is a telltale sign to show the rider’s perception and ability to have a supple and pliable horse that is through and harmoniously on the rider’s aid.
Most importantly, by not riding the lines you are throwing marks away in every movement! Your horse can get better marks not only by going in a better way, but also by the rider riding accurately. It’s a problem easily fixed for better marks and one that only needs attention where the movement should be directed by a focused and disciplined rider. EQ
Related articles
Now that the initial and most important tool of all the lateral work is installed – leg-yield – it’s time to move on to the next step in Part 2 of my guidelines on training the lateral work.
In the previous issue of Equestrian Life, I looked at riding the shoulder-in as part of my ongoing series on training lateral work. Here we look at another movement that’s introduced at Elementary level — travers.